Photoshop T-shirt Tutorial
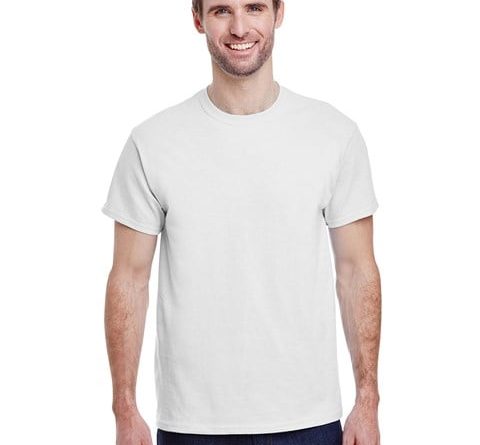
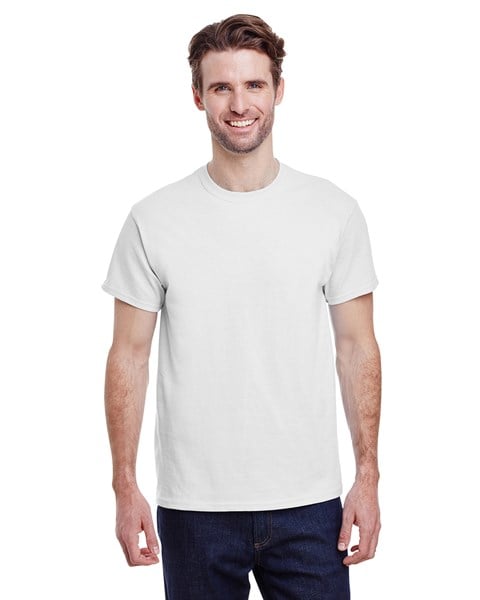
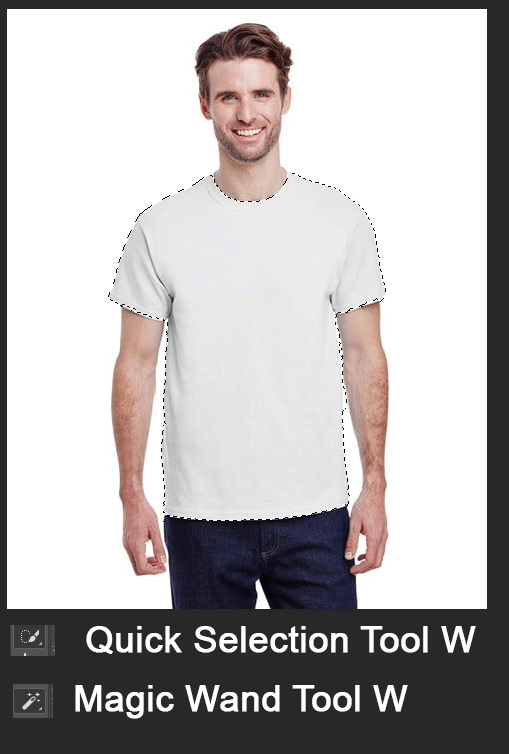
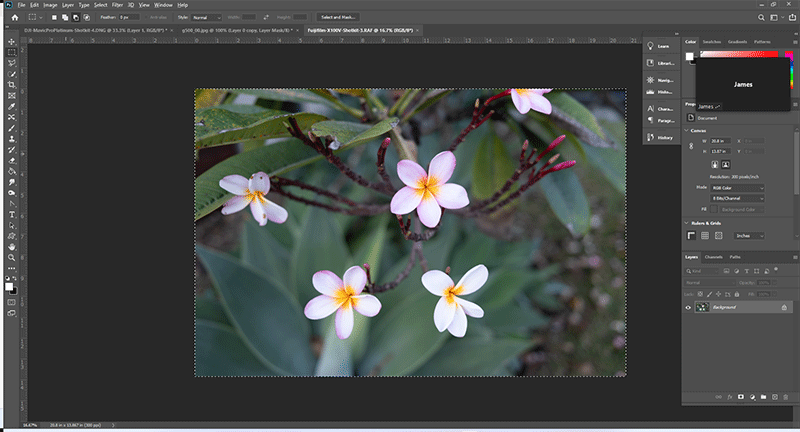
First step is to find a photo that you want to use. Hopefully it’s of a white t-shirt and front forward.
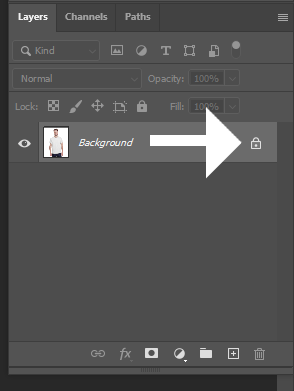
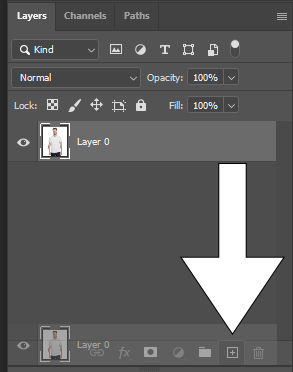
Next step is to open it up in Photoshop and unlock the layer.
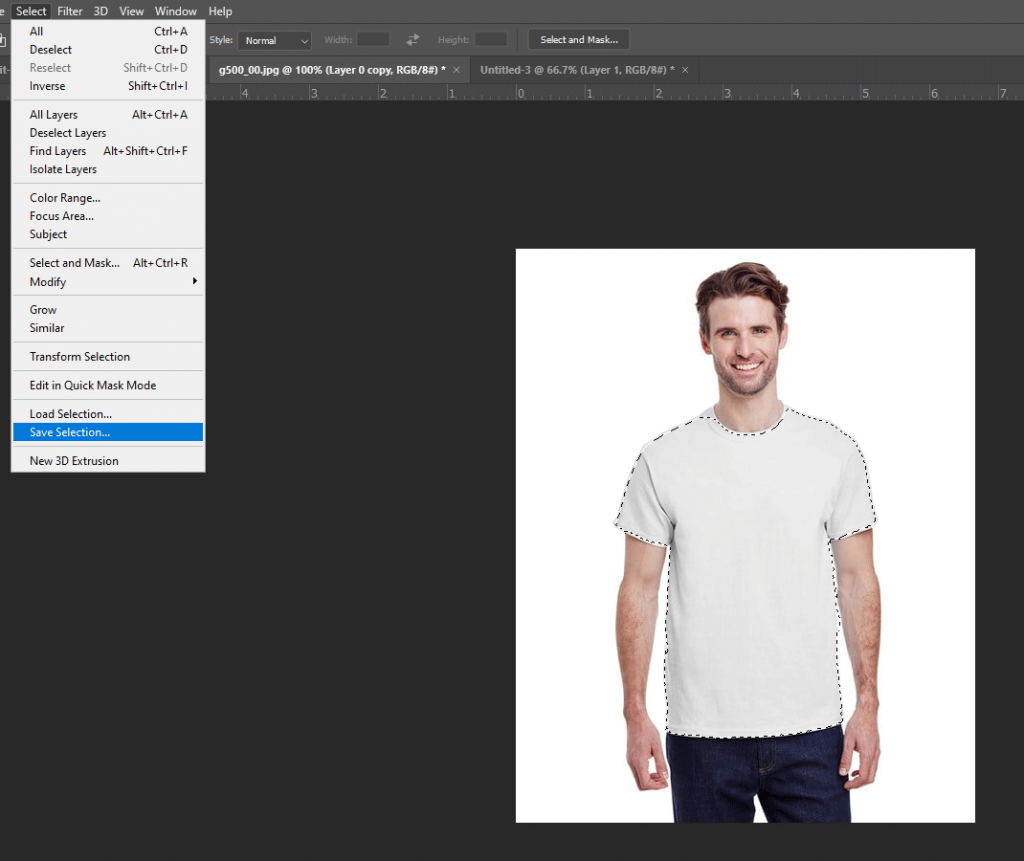
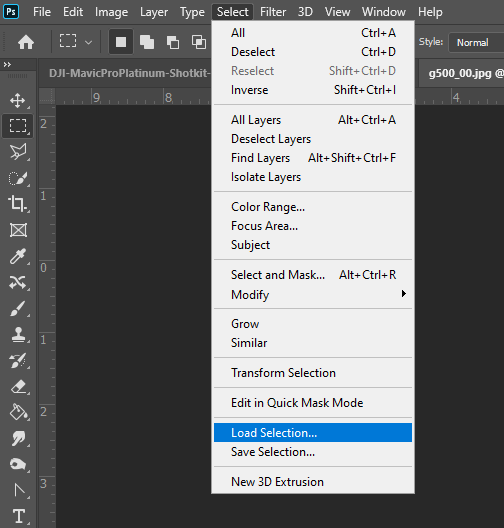
Save the selection by clicking on Select and from the drop menu click on save. I save mine as T-shirt
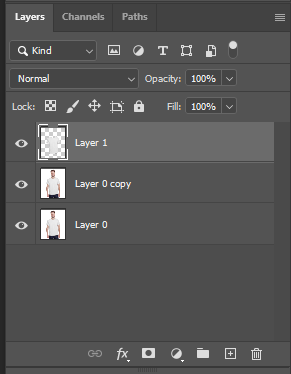
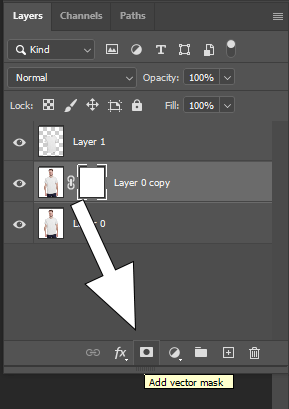
Create a mask layer with the layer mask of the model.
Next go back to the layer of just the T-Shirt select just the T-shirt by loading the selection we had previously save.
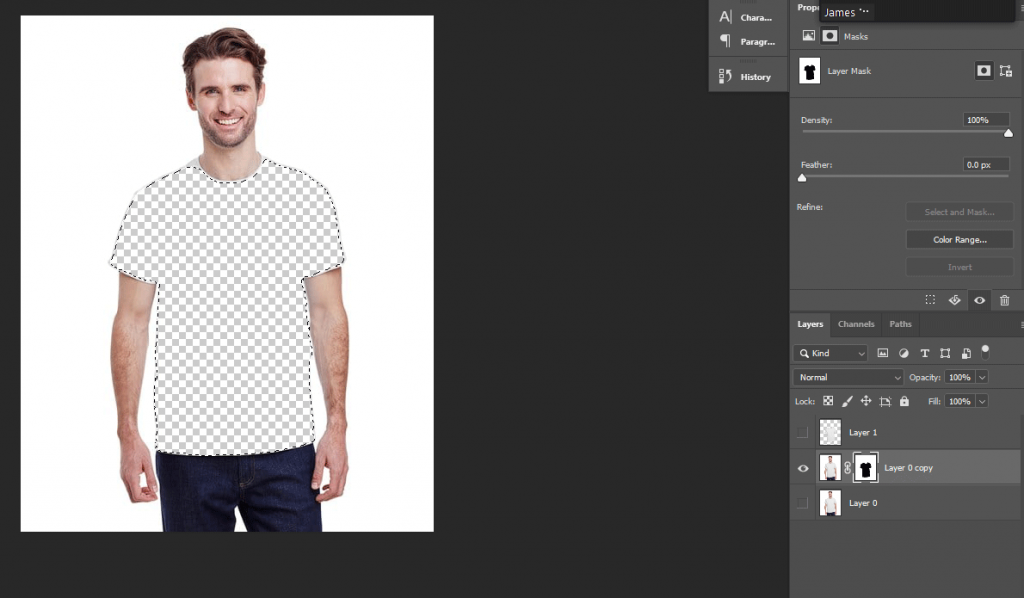
Ctrl D to deselect the T-shirt and make the T-shirt level visible Your almost done. All you have to do is drag and drop make you want on the T-shirt. I open up and Image Ctrl A to select all and than press ctrl C to copy it.
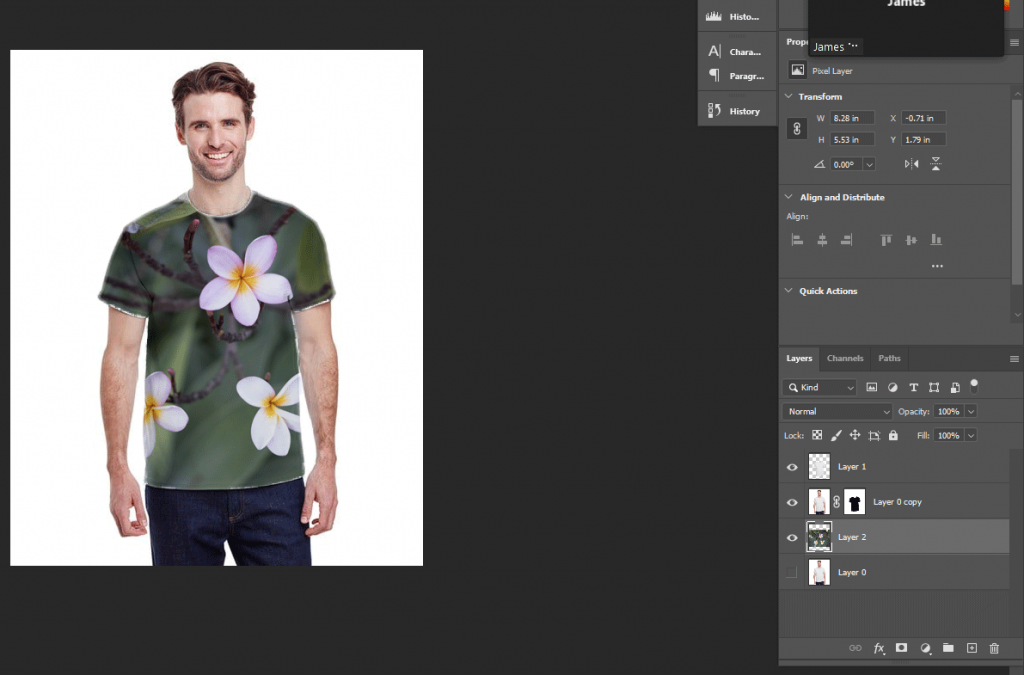
You might want to use the Transform tool Ctrl T to change the size and rotate it to fit on the shirt better.